Configure Local OpenLDAP as an Identity Provider in ZITADEL
This guide shows you how you can configure an LDAP server locally. ZITADEL needs access to the LDAP server, so this won't work in ZITADEL Cloud. You have to spin up your own local ZITADEL. The easiest way to do so is by following the Docker Compose installation guide.
Beware that this example configuration neighter supports LDAPS nor StartTLS. We highly recommend to enable LDAPS or StartTLS in your production setup. Otherwise, your users passwords are sent in clear text through the wire.
This guides shows you how to connect a local OpenLDAP server as an identity provider in ZITADEL.
In ZITADEL you can connect an Identity Provider (IdP) like a local OpenLDAP server to your instance and provide it as default to all organizations. Also, you can register the IdP to a specific organization only. If you allow so, your organizations members can do the same in self-service.
How it works
When you use an LDAP provider in ZITADEL, this is the login process:
- ZITADEL tries to connect to the LDAP server with or without TLS depending on the configuration
- If the connection fails, the next server in the list will be used to try again.
- ZITADEL tries a bind with the BindDN and BindPassword to check if it's possible to proceed
- ZITADEL does a SearchQuery to find the UserDN with the provided configuration of base, filters and objectClasses
- ZITADEL tries a bind with the provided loginname and password
- LDAP attributes get mapped to ZITADEL attributes as provided by the configuration
OpenLDAP Configuration
Basic configuration
To run LDAP locally to test it with ZITADEL please refer to OpenLDAP with slapd.
For a quickstart guide please refer to their official documentation.
A basic configuration would be like this
#
# See slapd.conf(5) for details on configuration options.
# This file should NOT be world readable.
#
include /usr/local/etc/openldap/schema/core.schema
include /usr/local/etc/openldap/schema/cosine.schema
include /usr/local/etc/openldap/schema/inetorgperson.schema
include /usr/local/etc/openldap/schema/nis.schema
include /usr/local/etc/openldap/schema/misc.schema

# Define global ACLs to disable default read access.

# Do not enable referrals until AFTER you have a working directory
# service AND an understanding of referrals.
#referral       ldap://root.openldap.org

pidfile         /usr/local/var/run/slapd.pid
argsfile        /usr/local/var/run/slapd.args

# Load dynamic backend modules:
modulepath      /usr/local/Cellar/openldap/2.4.53/libexec/openldap
moduleload      back_mdb.la
moduleload      back_ldap.la

# Sample security restrictions
#       Require integrity protection (prevent hijacking)
#       Require 112-bit (3DES or better) encryption for updates
#       Require 63-bit encryption for simple bind
# security ssf=1 update_ssf=112 simple_bind=64

# Sample access control policy:
#       Root DSE: allow anyone to read it
#       Subschema (sub)entry DSE: allow anyone to read it
#       Other DSEs:
#               Allow self write access
#               Allow authenticated users read access
#               Allow anonymous users to authenticate
#       Directives needed to implement policy:
# access to dn.base="" by * read
# access to dn.base="cn=Subschema" by * read
# access to *
#       by self write
#       by users read
#       by anonymous auth
#
# if no access controls are present, the default policy
# allows anyone and everyone to read anything but restricts
# updates to rootdn.  (e.g., "access to * by * read")
#
# rootdn can always read and write EVERYTHING!

#######################################################################
# MDB database definitions
#######################################################################

database        ldif
#maxsize                1073741824
suffix          "dc=example,dc=com"
rootdn          "cn=admin,dc=example,dc=com"
# Cleartext passwords, especially for the rootdn, should
# be avoid.  See slappasswd(8) and slapd.conf(5) for details.
# Use of strong authentication encouraged.
rootpw          {SSHA}6FTOTIITpkP9IAf22VjHqu4JisyBmW5A
# The database directory MUST exist prior to running slapd AND
# should only be accessible by the slapd and slap tools.
# Mode 700 recommended.
directory       /usr/local/var/openldap-data
# Indices to maintain
#index  objectClass     eq
Which is the default configuration with an admin user under the DN cn=admin,dc=example,dc=com and password Password1!, BaseDN "dc=example,dc=com and database set to ldif.
In addition, there are some schemas included which can be used to create the users.
Example users
For a basic structure and an example user you can use this structure in a .ldif file:
dn: dc=example,dc=com
dc: example
description: Company
objectClass: dcObject
objectClass: organization
o: Example, Inc.

dn: ou=people, dc=example,dc=com
ou: people
description: All people in organisation
objectclass: organizationalunit

dn: cn=test,ou=people,dc=example,dc=com
objectclass: inetOrgPerson
cn: testuser
sn: test
uid: test
userpassword: {SHA}qUqP5cyxm6YcTAhz05Hph5gvu9M=
mail: [email protected]
description: Person
ou: Human Resources
Which in essence creates a user with DN cn=test,ou=people,dc=example,dc=com, uid test and password test.
The user can be applied after OpenLDAP is running with
ldapadd -x -h localhost -D "cn=admin,dc=example,dc=com" -f example.ldif -w 'Password1!'
ZITADEL Configuration
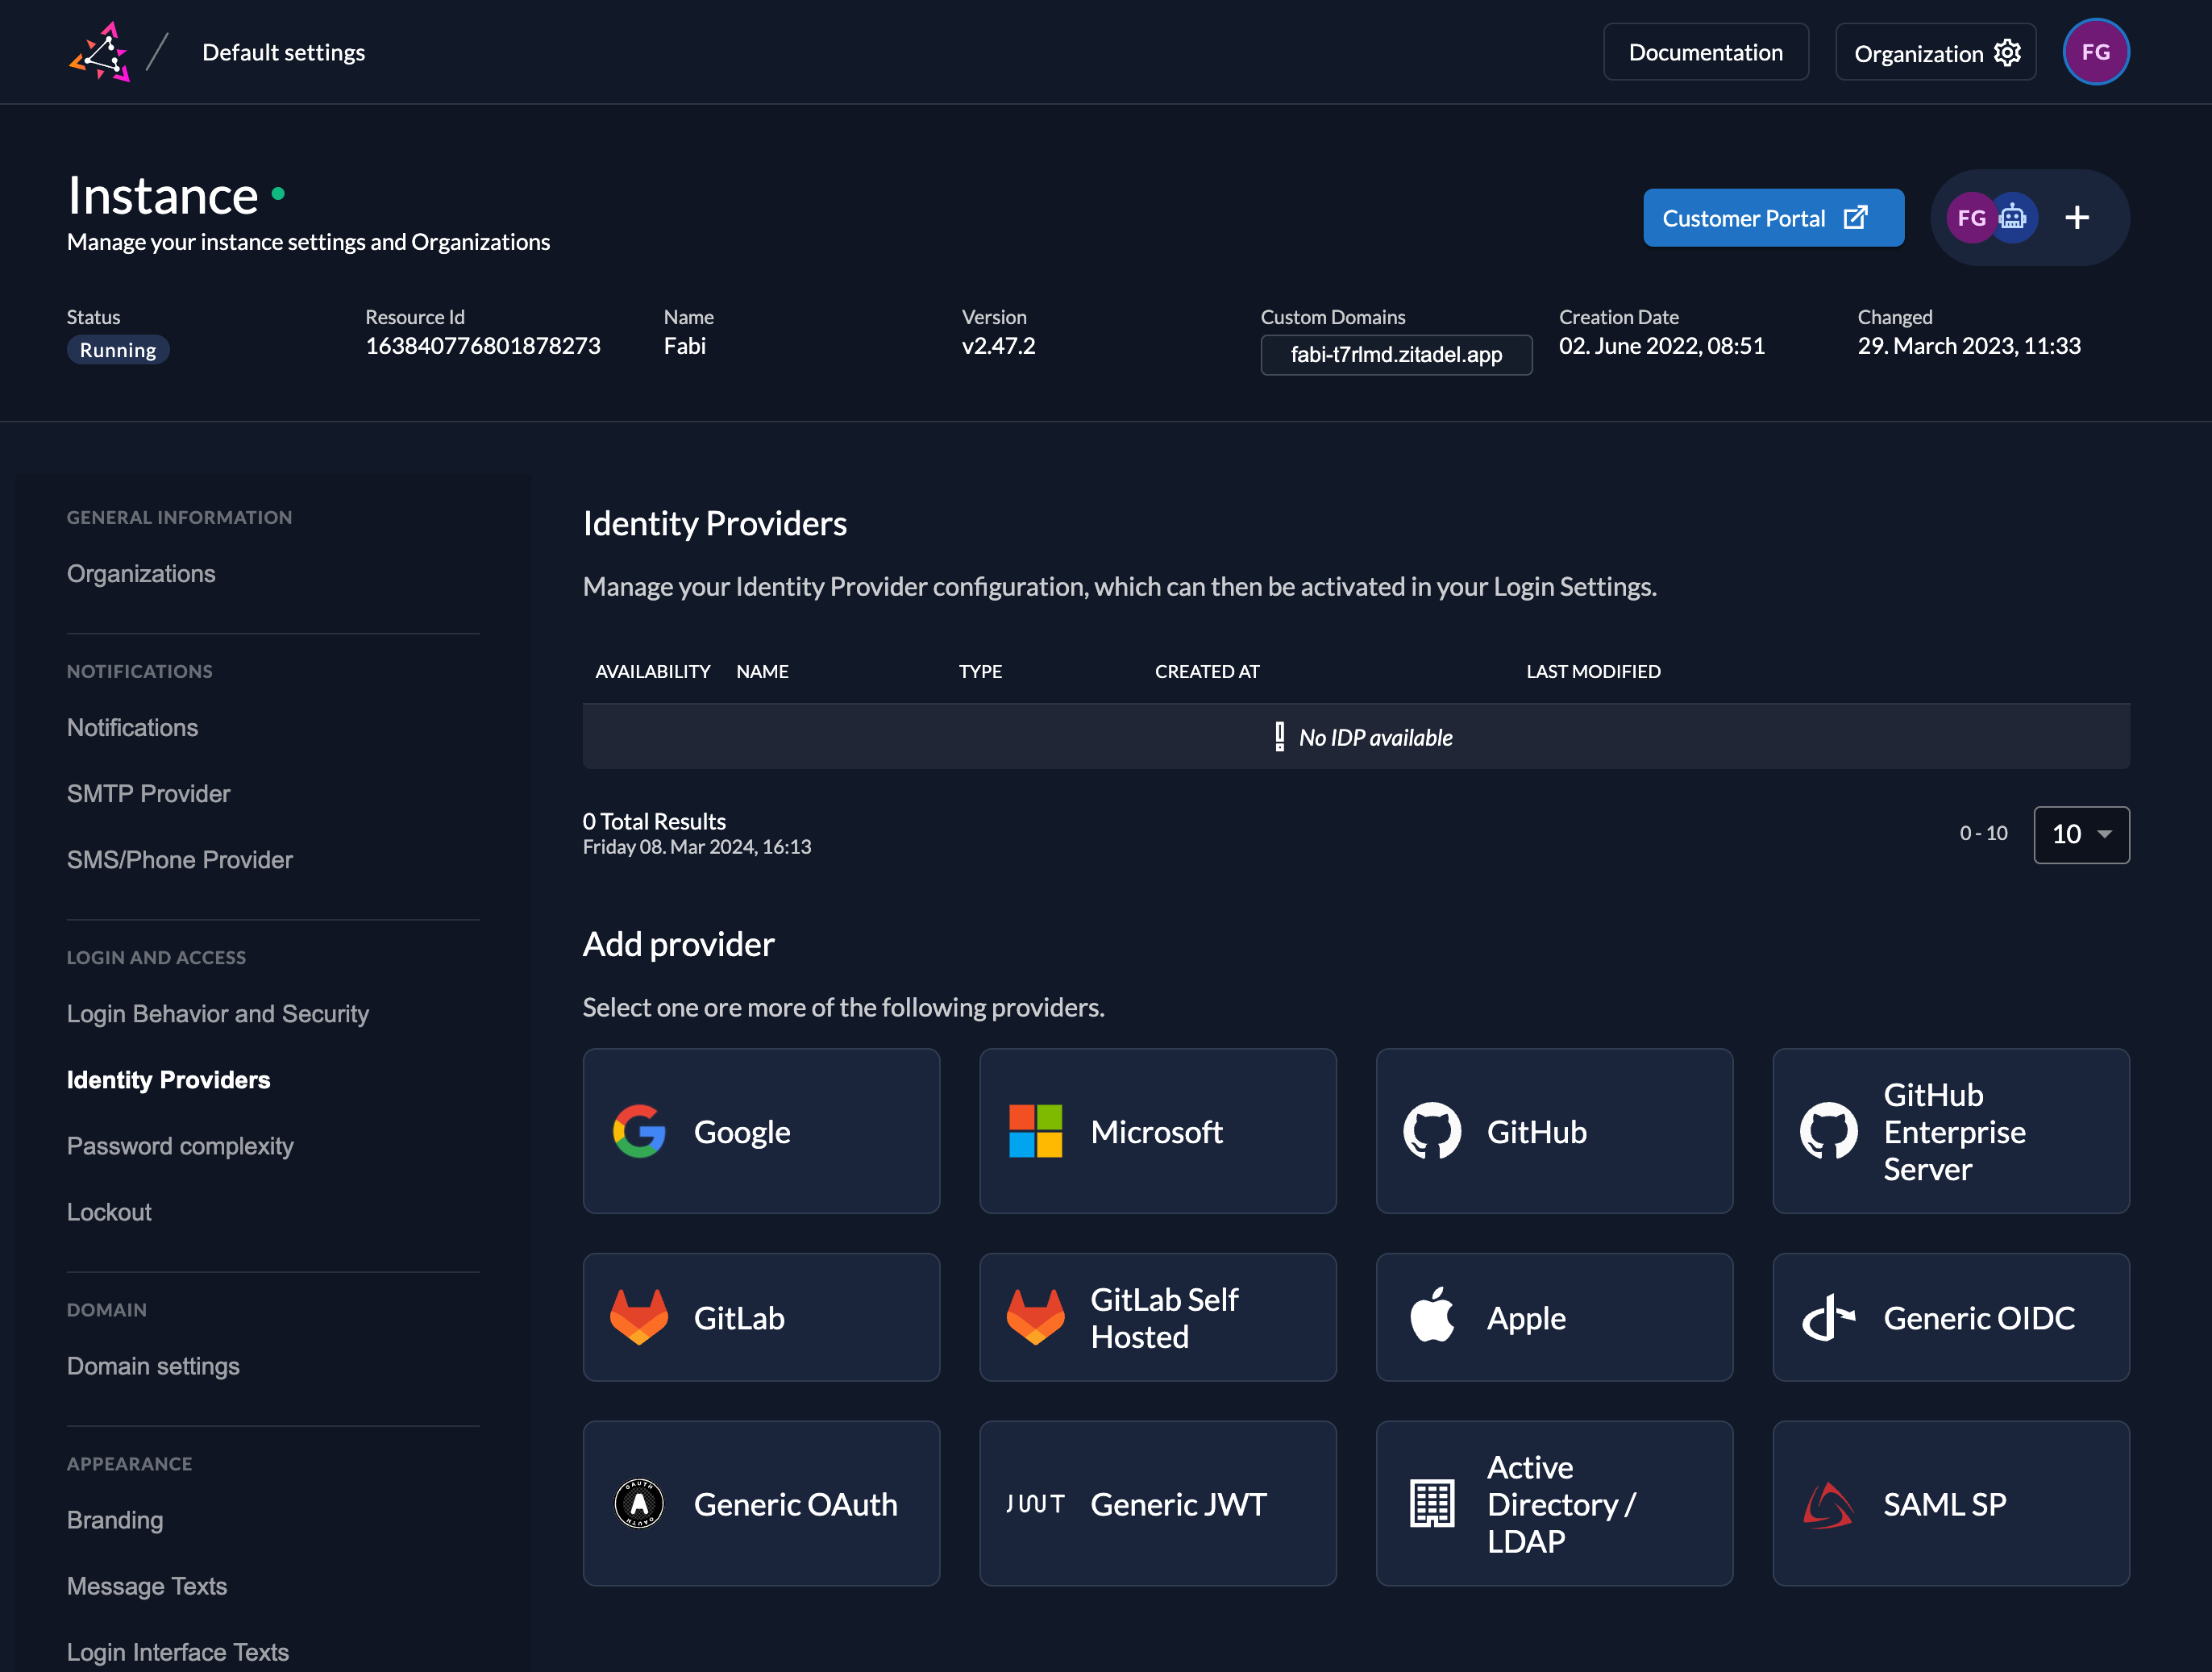
Go to the IdP Providers Overview
Go to the settings page of your instance or organization and choose "Identity Providers".
In the table you can see all the providers you have configured. Also, you see all provider templates that are available.

Select the Active Directory / LDAP Provider template.
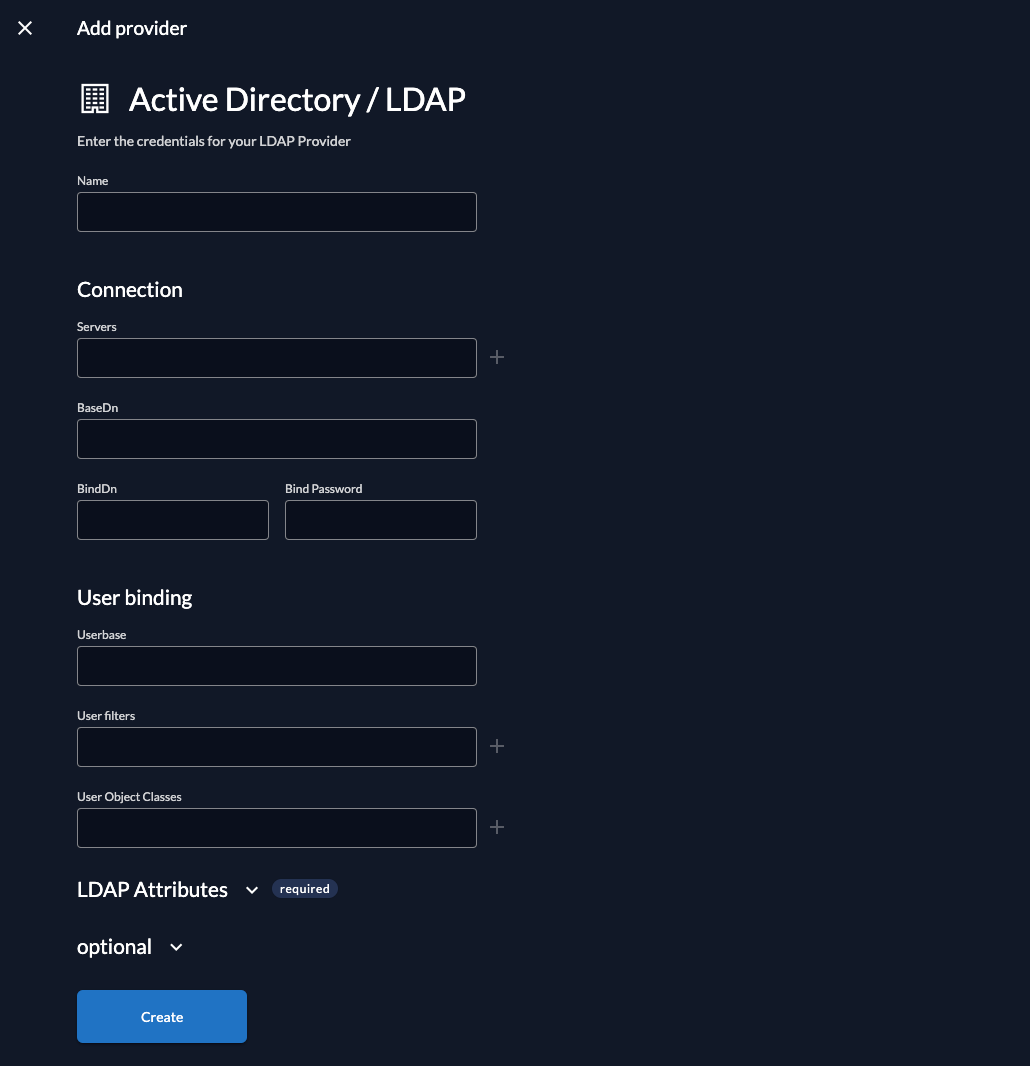
Create a new LDAP Provider
Fill in the template fields with the exact values listed below. The fields are described in the LDAP guide.
Name: OpenLDAP
Servers: "ldap://localhost:389"
BaseDN: "dc=example,dc=com"
BindDn: "cn=admin,dc=example,dc=com"
BindPassword: "Password1!"
Userbase: "dn"
User filters: "uid"
User Object Classes: "inetOrgPerson"
LDAP Attributes: id attributes = "uid"
StartTLS: For this example should be left untouched, if this setting is enabled after the initial connection ZITADEL tries to build a TLS connection.
Timeout: Can be left empty, if this setting is set all connection run with a set timeout, if it is 0s the default timeout of 60s is used.
Automatic creation: If this setting is enabled the user will be created automatically within ZITADEL, if it doesn't exist.
Automatic update: If this setting is enabled, the user will be updated within ZITADEL, if some user data is changed withing the provider. E.g if the lastname changes on the LDAP user, the information will be changed on the ZITADEL account on the next login.
Account creation allowed: This setting determines if account creation within ZITADEL is allowed or not.
Account linking allowed: This setting determines if account linking is allowed. When logging in with a LDAP user, a linkable ZITADEL account has to exist already.
Either account creation or account linking have to be enabled. Otherwise, the provider can't be used.

Activate IdP
Once you created the provider, it is listed in the providers overview. Activate it by selecting the tick with the tooltip set as available.
If you deactivate a provider, your users with links to it will not be able to authenticate anymore. You can reactivate it and the logins will work again.
The provider can also be activated via API. As the identity providers are sub-resources of the login settings, this is done by linking the provider to the settings:

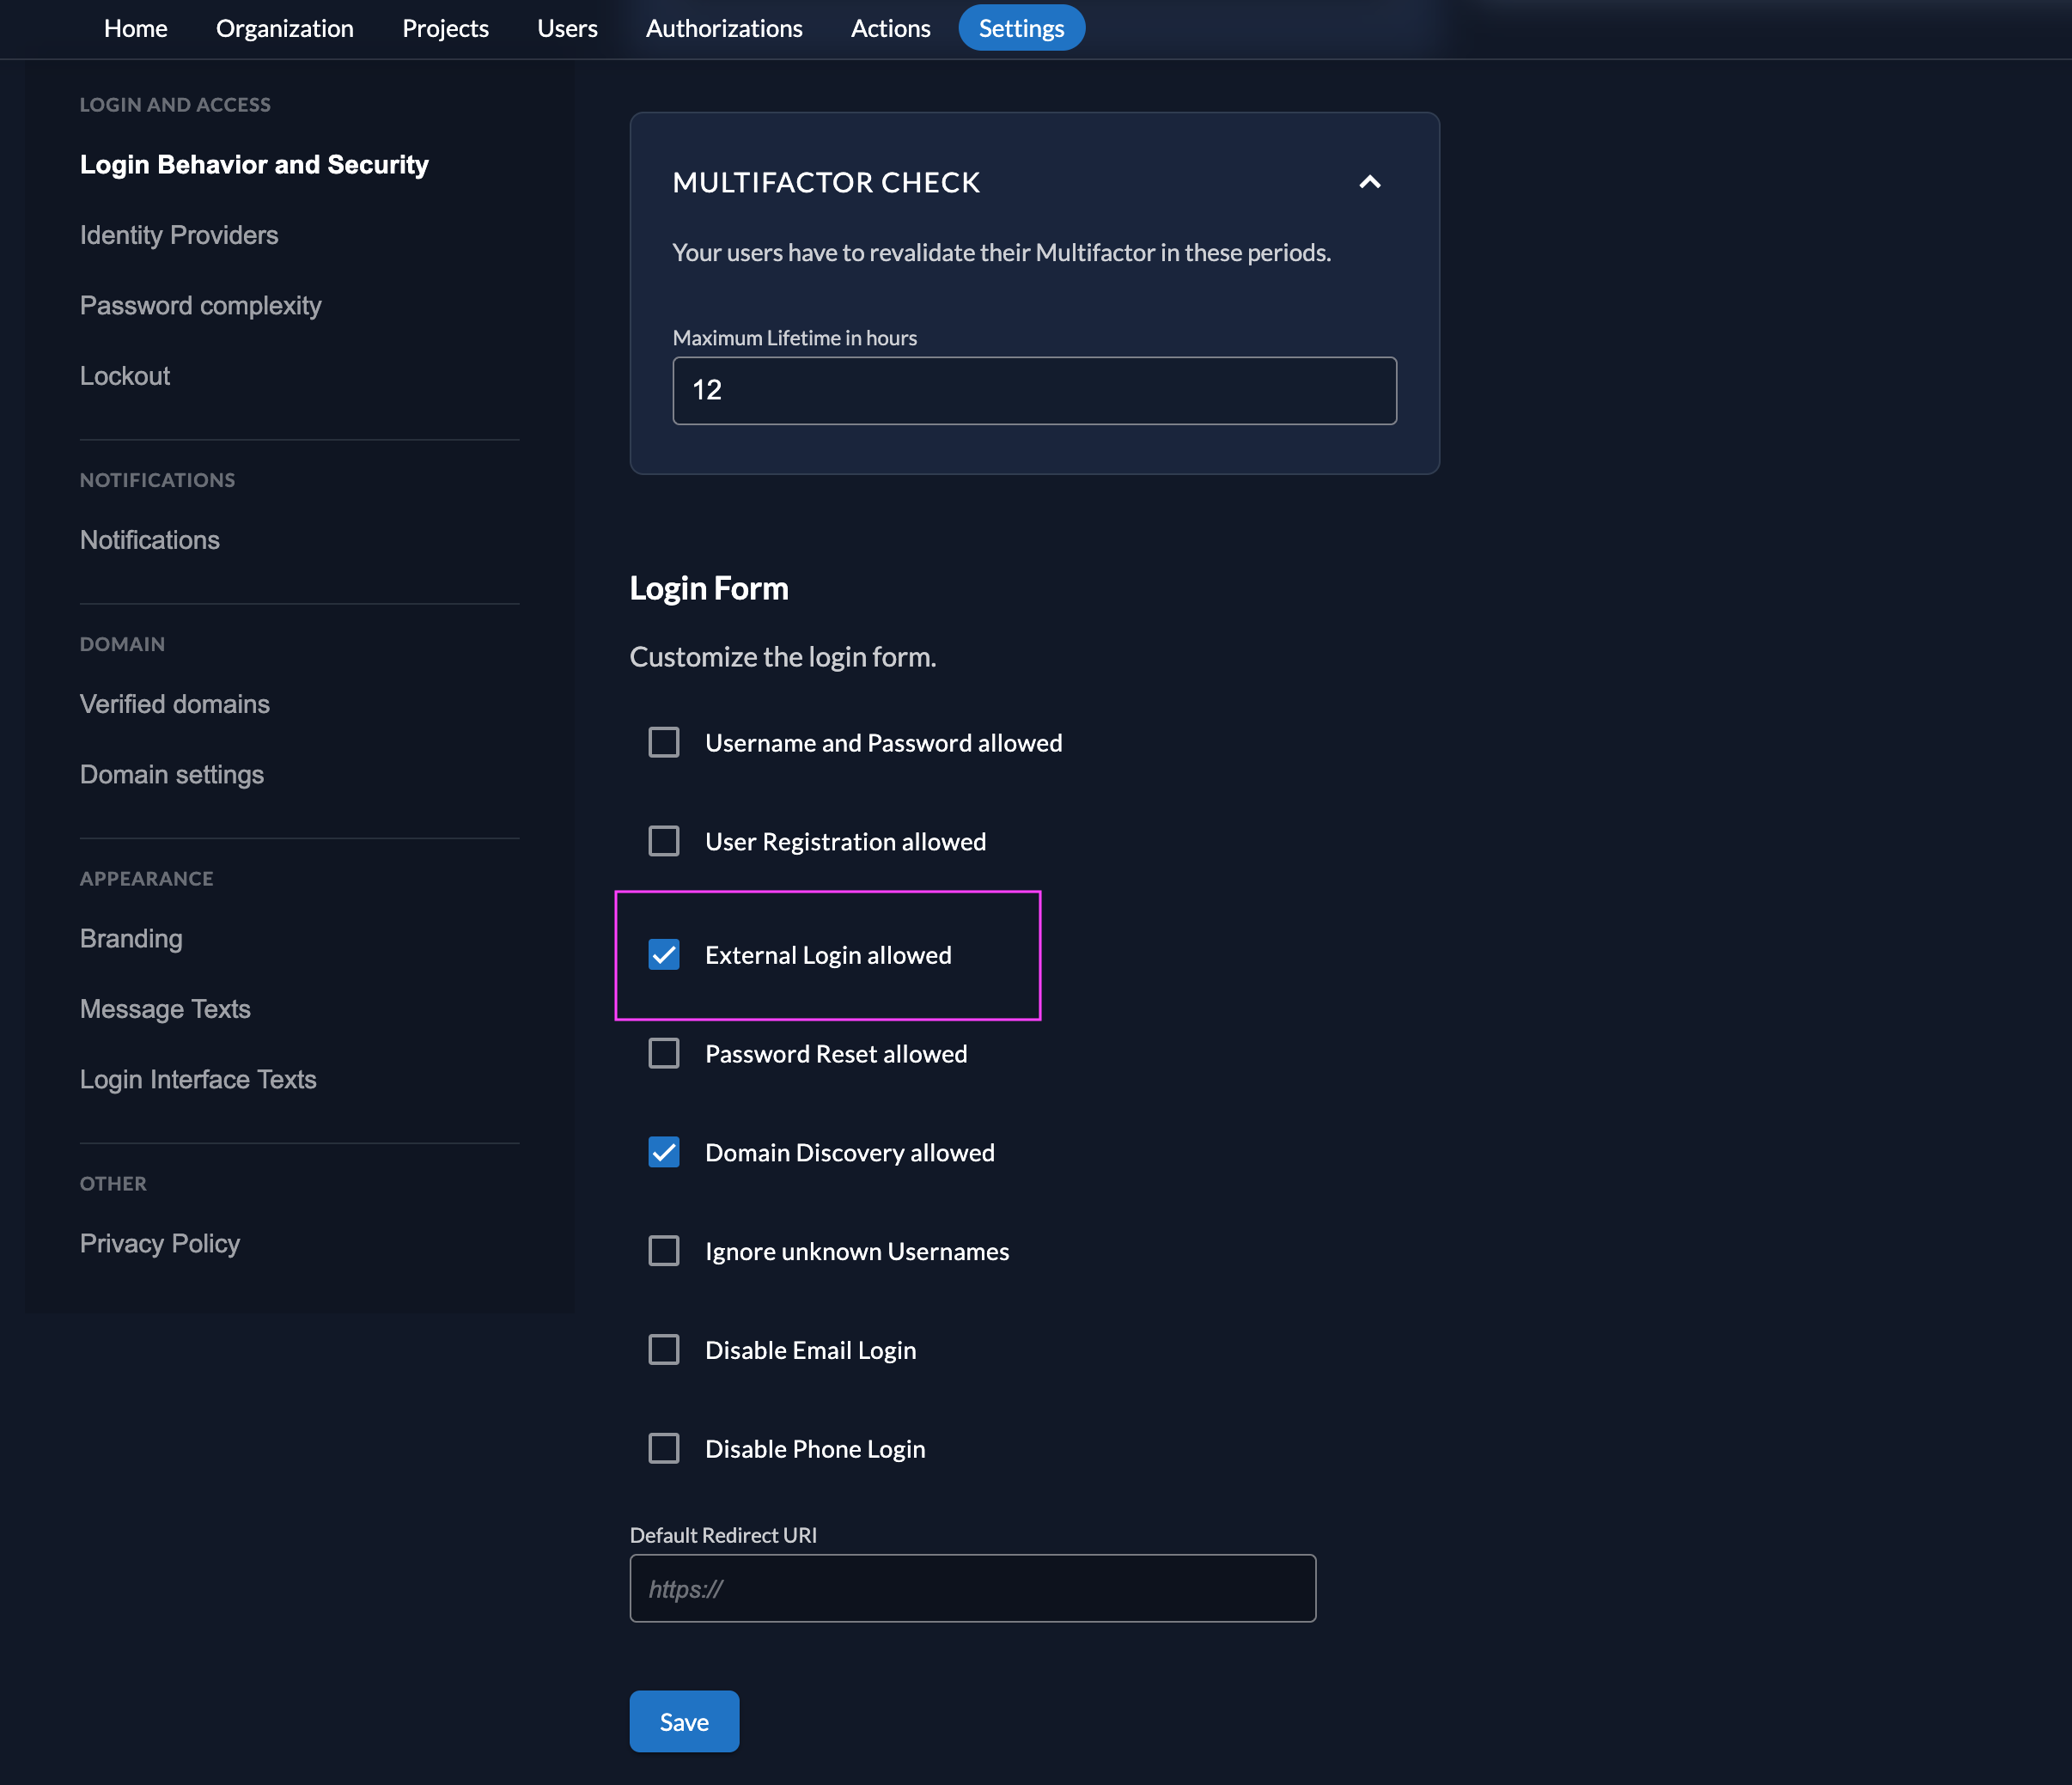
Ensure your Login Policy allows External IDPs
- Go to the Settings
- To allow external IdP logins by default, go to your instance default settings at
$YOUR-DOMAIN/ui/console/instance?id=general - To allow external IdP logins on an organization, go to
$YOUR-DOMAIN/ui/console/org-settings?id=loginand ensure you have the right org context.
- To allow external IdP logins by default, go to your instance default settings at
- Modify your login policy in the menu "Login Behavior and Security"
- Enable the attribute "External Login allowed"
You can also change the settings through the API directly either in the default settings or on a specific organization:

Test the setup
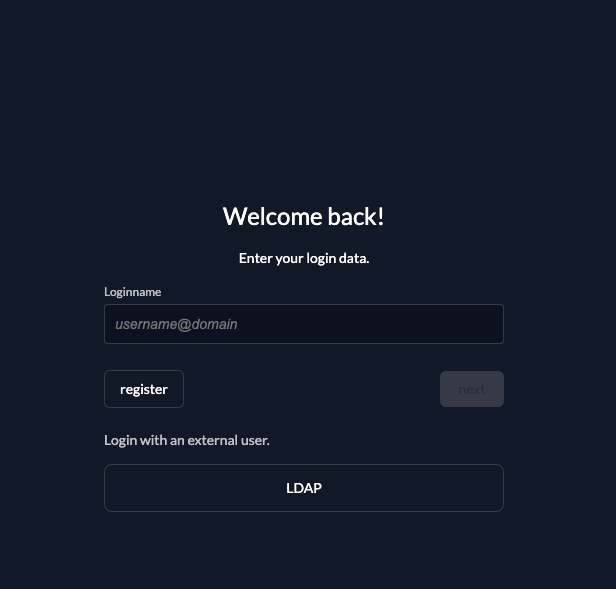
To test the setup, use incognito mode and browse to your login page. You see a new button which redirects you to ZITADELs LDAP login screen.
By default, ZITADEL shows what you define in the default settings. If you overwrite the default settings for an organization, you need to send the organization scope in your auth request.
The organization scope looks like this: urn:zitadel:iam:org:id:{id}.
You can read more about the reserved scopes
or use the ZITADEL OIDC Playground to see what happens with the login when you send different scopes.
